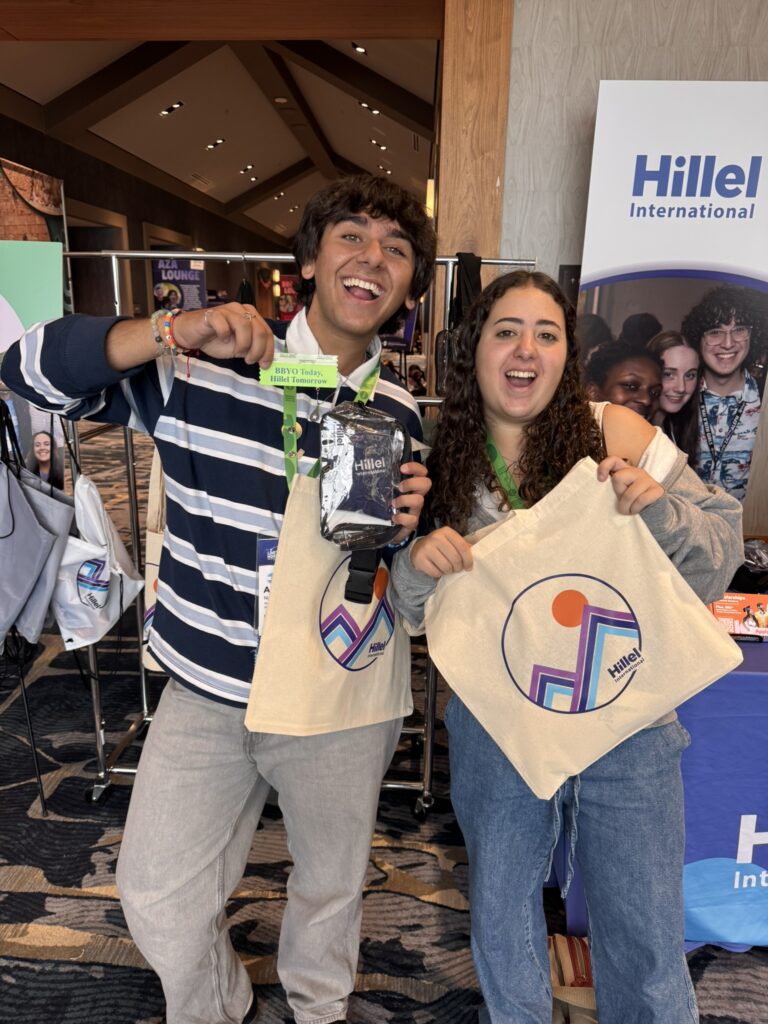
BBYO Today, Hillel Tomorrow
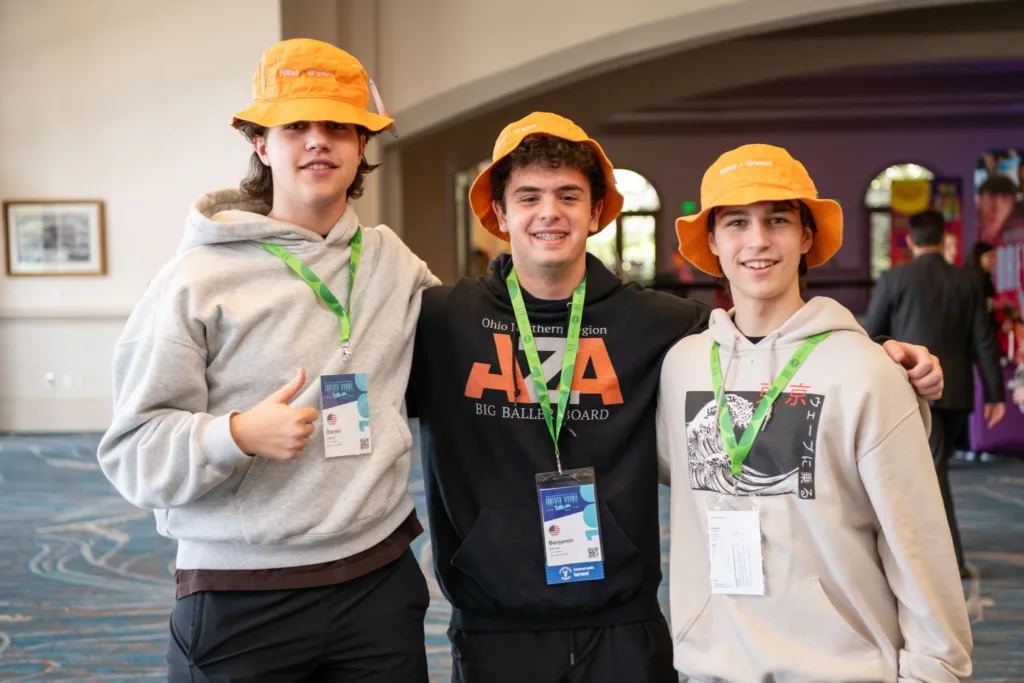
Over Presidents Day weekend, the Hillel International Student and Alumni Marketing team traveled to Denver, Colorado for BBYO’s International Convention (IC), the largest gathering of Jewish teen leaders worldwide. Over 3,600 high school students from across the country and around the world braved sub-zero temperatures and blizzards to experience several days of learning, leadership training, […]